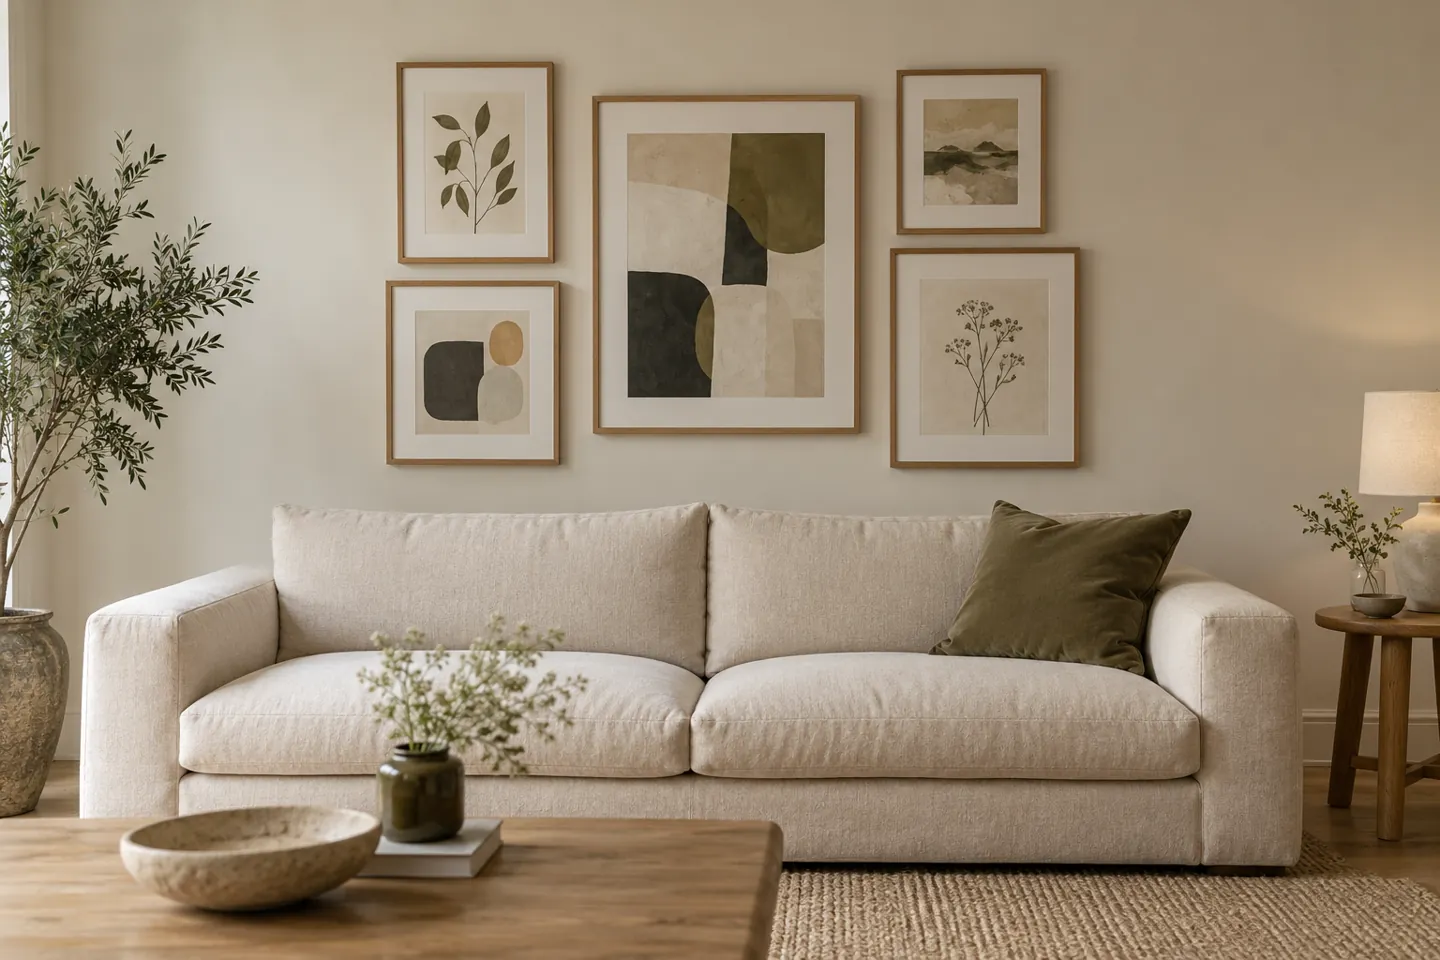
A gallery wall above a sofa works best when the pictures read as one considered arrangement. The individual pieces can be different sizes, subjects and ages, but the overall group needs a relationship with the sofa and the surrounding room.
You do not need to buy a matching set or fill the whole wall. Start with pieces you want to live with, then test their arrangement before making holes. A small group with room around it can look more settled than a collection stretched across every available centimetre.
Measure the sofa and the clear wall
Record the sofa’s width, the height of its back and the clear wall above it. Include anything that interrupts the space: a wall light, shelf, curtain stack or sloping ceiling. Check the arrangement with cushions in their normal positions and people sitting comfortably.
Treat the sofa as a reference point rather than defaulting to the centre of the whole wall. If the sofa sits off-centre because of a doorway, pictures centred on the wall may appear disconnected from the seating area.
Before planning the pictures, settle the furniture position. Our guide to narrow living-room layouts can help if the room still feels awkward. Moving the sofa after hanging a group usually means reconsidering the pictures too.
Measure the frames, not just the prints
A print size does not describe the space its frame occupies. Measure the outside width and height of each finished frame, including any broad mount or decorative edge. If you have not ordered frames yet, use the proposed external dimensions from the supplier.
Lay the actual framed pieces on a protected floor or another safe surface where they cannot be stepped on. Keep fragile glass and valuable work out of the way while experimenting. Photograph each candidate arrangement from directly above if you can do so safely.
For broader ideas about the relationship between art and a room, see our guide to displaying artwork at home. This plan narrows the task to one group above a sofa.
Choose a simple organising idea
Try one of three approaches. A neat row uses similar frame sizes and a shared top or centre line. A loose rectangle mixes sizes while keeping a recognisable outer boundary. A central anchor starts with one larger piece and balances smaller works around it.
Choose the approach that suits the pieces you already have. If every frame is different, forcing an exact grid may create odd gaps. If the pictures are a matching series, an elaborate scattered arrangement may make them harder to read together.
For an imagined five-picture group, place one medium landscape near the centre, a taller piece to one side and three smaller works around them. Adjust the group until neither side feels much heavier. This is a starting exercise, not a formula that every sofa wall must follow.
Use spacing to connect the collection
Start with similar gaps between neighbouring frames, measured from their outside edges. There is no single compulsory gap: test what feels connected at the distance from which you normally see the room.
Make one change at a time. If the group feels scattered, reduce the gaps before adding more pictures. If it feels cramped, remove one piece or increase the clear space around the whole arrangement. Adding another frame is not always the answer.
Colour can help hold a mixed collection together. Repeat a frame finish, mount colour or a quiet tone from the artwork. If the room already combines timber finishes, our guide to mixing wood tones offers a way to consider the frames alongside furniture.
Try paper templates at full size
Cut a paper rectangle for each frame and label it with the picture it represents. Test the arrangement on the wall using a temporary method suitable for your surface. Even low-tack tape can mark delicate finishes, so test discreetly and follow its instructions first.
Stand back at the room entrance, then sit on the opposite chair and on the sofa. Check that the lower frames will not be knocked by heads or cushions. Look again in the evening, when nearby lamps may create reflections that were not obvious in daylight.
Leave the templates in place long enough to notice how the group feels during normal use. A photograph taken straight on can help compare two layouts, but your everyday view matters more than a perfect camera angle.
Choose fixings for the wall and the load
Confirm the wall construction, frame weight and intended hanging method before installation. Follow the fixing manufacturer’s limits and check for concealed services before any drilling. Heavy, valuable or awkward pieces may justify a professional picture hanger.
Adhesive hanging systems have conditions too. Command’s UK guidance says paint must be fully cured and advises against use on delicate or paper wallpaper. Check the exact product’s surface compatibility, weight rating, application method and removal instructions; do not assume extra strips make an unsuitable arrangement safe.
Keep a photograph and measurements of the final layout. If you later swap a print, you can judge its frame size against the existing group. A gallery wall can evolve without losing the order that makes it feel at home above the sofa.